Invoice Scanning

Take a photo or upload a PDF of any supplier bill and EagleOwl reads it for you. Check the items, fix anything that looks off, and save it as a purchase — no manual typing needed.

Before you start

  • Right restaurant selected — Make sure you're logged in to the correct outlet before uploading a bill.
  • Access — You need permission to use invoice scanning. If you can't see the option, ask your manager or admin to enable it for your account.
  • Scanning turned on — Scanning must be active for your outlet and you need scans remaining. If it's off or you've run out, the app will tell you (see Troubleshooting).
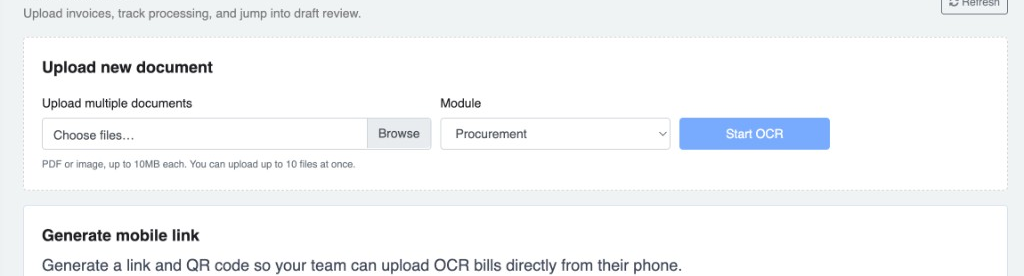
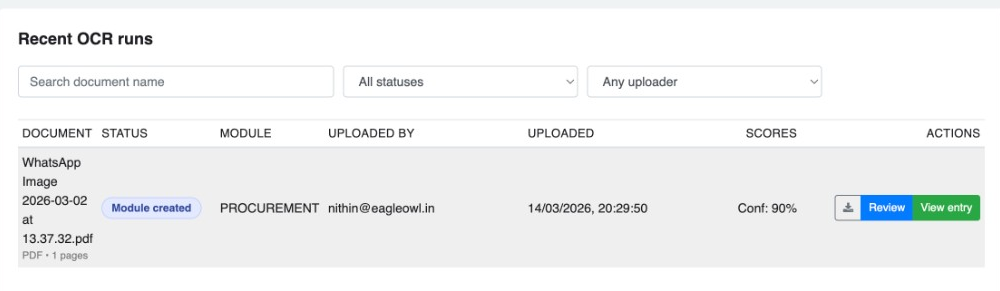
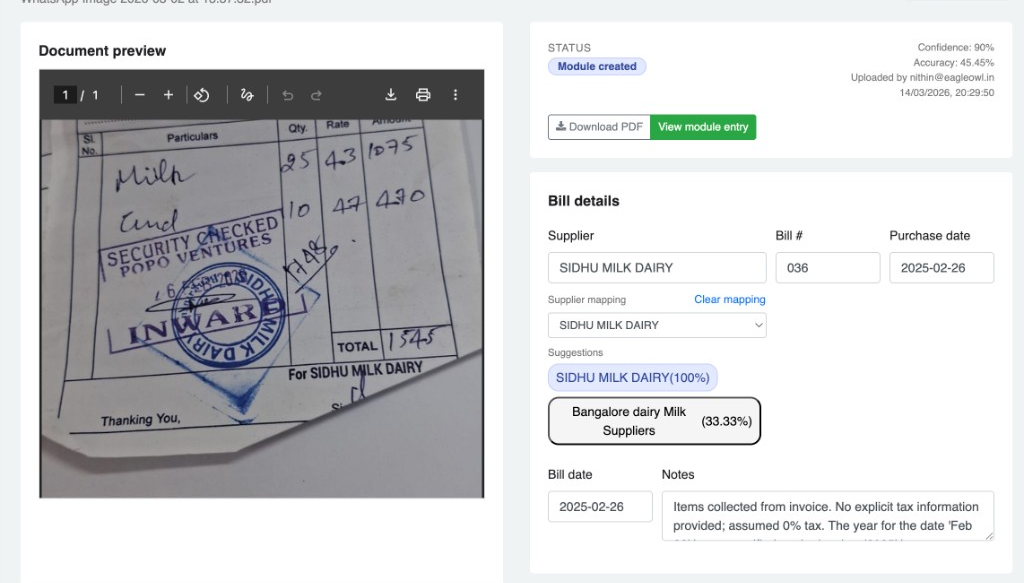
Everything lives in OCR Workspace — that's where you upload bills, see what's been scanned, and review the results.

Where to find it

After you sign in, click OCR in the left menu. You'll see a beta badge — we're still polishing it.

EagleOwl sidebar menu with OCR item and beta badge
Sidebar: choose OCR to open the workspace for your outlet.

Upload a bill from your computer

You can upload PDFs or photos. Each file must be under 10 MB, and you can upload up to 10 bills at once. Keep Procurement selected as the type.

OCR workspace upload area with file picker, Procurement module, and Start OCR button
Pick your files, make sure Procurement is selected, then hit Start OCR.
  1. Open OCR Workspace from the left menu.
  2. Choose one or more bills and click Start OCR.
  3. Wait a moment while it scans. Hit Refresh to check the latest status.

See your recent uploads

The Recent OCR runs list shows every bill you've uploaded, its status, and what to do next.

Recent OCR runs table with filters, status badge, confidence score, and Review button
Filter by bill name, status, or who uploaded it. Click Review to check the scanned details, View entry once a purchase is saved, or download the original bill.

Check the scanned bill

You'll see your original bill on one side and what EagleOwl read on the other — supplier name, date, bill number, and more. Give it a quick check and correct anything that looks wrong.

Review draft page with document preview, status metrics, and bill details form with supplier suggestions
Left: your original bill (zoom in or download). Right: the scanned details — pick the right supplier from the suggestions shown.

Match items to your ingredients

Each line on the bill needs to be matched to an ingredient in EagleOwl. Pick from the suggestions shown or search by name — keep going until all items are matched.

Line items table with mapping progress bar and expanded mapping panel with SKU suggestions
The progress bar shows how many items are matched. Click a row to pick a suggestion, search for the right ingredient, or add taxes for that item.

Check totals and save the purchase

Make sure the subtotal and total match your bill. Add any extra taxes, charges, or discounts if needed, then hit Save draft to come back later, or Create purchase to save it now.

Totals and charges section with subtotal, total amount, and Create purchase button
Once the numbers match your bill, click Create purchase to save it.

Upload a bill from your phone

Useful for staff on the floor or delivery drivers with paper bills. Generate a mobile upload link (and QR code) from the OCR Workspace and share it with them.

Generate mobile link section with QR placeholder and generate button
Only one link can be active at a time. Click End session when done so you can generate a new one later.

What the statuses mean

Troubleshooting

”OCR is not enabled for this outlet”

Invoice scanning hasn’t been turned on for your restaurant yet. Ask your manager or EagleOwl admin to enable it.

”OCR quota exhausted” / out of scans

You’ve used up your scan allowance. Ask your admin to top it up.

File type not supported or file too large

Only PDFs and photos are accepted, and each file must be under 10 MB. Try compressing the file or sending a clearer photo.

If you get an unexpected error, try again with a better-quality photo. Still stuck? Email support@eagleowl.in.